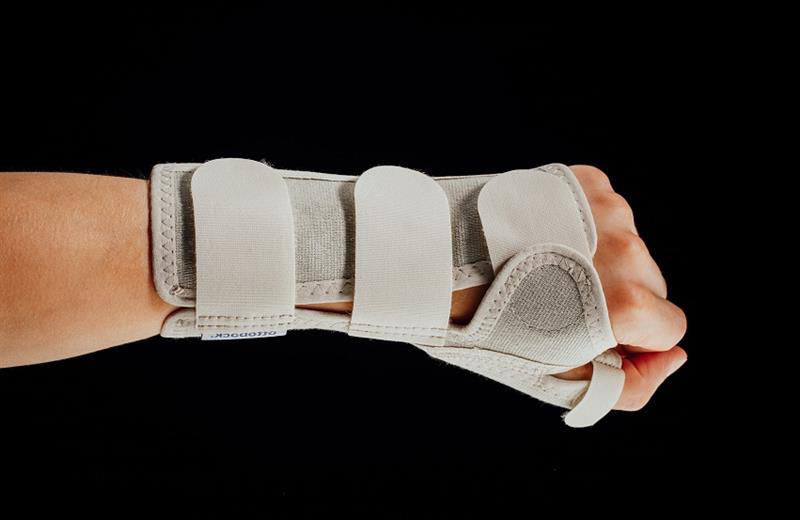
Improved patient compliance requires a comfortable orthosis. Because your patient won't wear their personalised orthosis if they find it uncomfortable. Despite the need for it for the best recuperation.
Make a supportive and comfy orthosis using these eight suggestions. It will support your patient's adherence to the recommended wearing schedule and promote a speedy recovery.
1. Recognize Your Resources
Select the material thickness that best fits the intended target. Choose the lightest material for the work whenever it is practical to do so.
To make this decision, also take into account the material's properties as well as the size of the patient's extremity.
For adult patients, you should often take into account the following material thicknesses:
Choose 1.6 mm (1/16") material or Orficast for finger orthoses;
Choose Orficast More or 2.1 mm (1/12") thickness for hand-based orthoses;
Orthoses for the wrist or elbow should be made of 3.2 mm (1/8") thick materials, such as Orfit NS or Orfit Eco.
2. Create A Template To Guarantee A Comfy Orthosis.
Create a precise pattern that corresponds to the extremity of the patient in terms of both size and shape. You'll save time and effort while making the orthosis if you do this. Additionally, you may guarantee that the orthosis is made specifically for your patient.
It will stop:
In the event that the material was not cut large enough, you had to stretch it to fit.
having an excessive amount of fabric, which can wrinkle.
3. To Minimise Pressure Points When Moulding,
Be careful not to hold any part in place for more than a few seconds when making the orthosis. Due of the possibility of creating a pressure point in the finished orthosis every time you press into the material.
Consider making your circumferential orthotics utilising the pinch method. These techniques enable you to position your hands without having to use them to hold the item in place.
The pinch technique for an Anti-Swan Neck Orthosis is demonstrated in the following video:
4. Verify The Fit.
Examine the fit of the orthosis on the patient's hand when the manufacturing is finished.
The straps must be long enough.
Are they positioned correctly for a tight fit?
On the patient's arm, does the orthosis move around? If it does, take a little more off the sides to improve how well the straps hold the orthosis in place.
5. The Ideal Coating For A Cosy Orthosis
All edges and corners should be rounded. This stops any sharp edges that could hurt when putting on and taking off the orthosis.
6. Make Any Adjustments For A More Comfortable Orthosis.
Are there any red stains around the forearm where the orthosis' edges meet it? Stretch the fabric open slightly to widen the sides, or use a heat gun to reheat the edges so they flare away from the arm.
7. Release The Pressure
Is there pressure from the orthosis on the bony prominences? In that situation, you can make the following adjustments to the orthosis to make it more comfortable to wear:
Theraplast or thermoplastic substance
Place Theraputty or a little fragment of thermoplastic material on the hand's or arm's bony prominences before moulding. After that, create the orthosis as usual.
Remove the putty or scrap of material from the inside of the orthosis when it has dried and hardened. A little region is enlarged as a result of this procedure.
8. Examine Where The Orthosis Is Placed.
Do you create orthoses that are forearm-based? When the elbow is flexed, the proximal edge shouldn't run into the biceps muscle. Contrarily, the proximal edge of hand-based orthoses shouldn't restrict wrist movement.
To prevent the orthosis from digging into the arm, slightly flare the proximal edge outward.
You can create an orthosis that is well-fitting and incredibly comfortable using these factors and advice. one that will aid in the recuperation of your patient.
These extra efforts will demonstrate your concern for the patient.